From README to documentation site in 10 minutes
Colin McDonnell @colinhacks
published May 13th, 2022
Spoiler alert: GitHub Pages and GitHub actions are not involved.
I recently set out to build a proper documentation site for Zod with a short and eminently reasonable list of goals:
- The site should be generated from the README. Zod's
README.mdis the "source of truth". - The site should automatically update whenever the
masterbranch is updated. - I didn't want to worry about building or maintaining a complex build workflow in GitHub Actions, if possible.
Despite the eminent reasonability, I had a hard time finding a simple solution. After a lot of research and false starts, I've found what I think is the lowest-effort, highest-reward way to publish a documentation site for your GitHub-hosted project.
Let's jump in.
1. Add this index.html to your repo
Create a file called index.html in your project root and paste the following contents into it.
Replace all occurrences of
user/repowith your project's name. And maybe write up a slightly more detailedmetadescription :)
<!DOCTYPE html>
<html lang="en">
  <head>
    <meta charset="UTF-8" />
    <title>user/repo</title>
    <meta http-equiv="X-UA-Compatible" content="IE=edge,chrome=1" />
    <meta name="description" content="user/repo is cool!" />
    <meta name="viewport" content="width=device-width, user-scalable=no, initial-scale=1.0, maximum-scale=1.0, minimum-scale=1.0" />
    <link rel="stylesheet" href="//cdn.jsdelivr.net/npm/docsify/lib/themes/vue.css" />
    <style>
      .markdown-section { max-width: 700px; }
    </style>
  </head>
  <body>
    <nav
      style="display: flex; flex-direction: row; align-items: center; justify-content: space-between;"
    >
      <!-- <ul><li href="/link">Link 1</li></ul> -->
    </nav>
    <div id="app"></div>
    <script>
      window.$docsify = {
        subMaxLevel: 1,
        maxLevel: 3,
        auto2top: true,
        repo: 'user/repo',
        routerMode: 'history',
        // homepage: "README.md"
      };
    </script>
    <script src="//cdn.jsdelivr.net/npm/docsify@4.12.2/lib/docsify.min.js"></script>
    <script src="//cdn.jsdelivr.net/npm/prismjs@1.28.0/prism.min.js"></script>
  </body>
</html>
Those 1150 bytes are doing a lot, but most importantly it's loading Docsify. Docsify is a documentation generator. You may recognize it from its goofy looking gradient cover pages with big pill-shaped buttons.
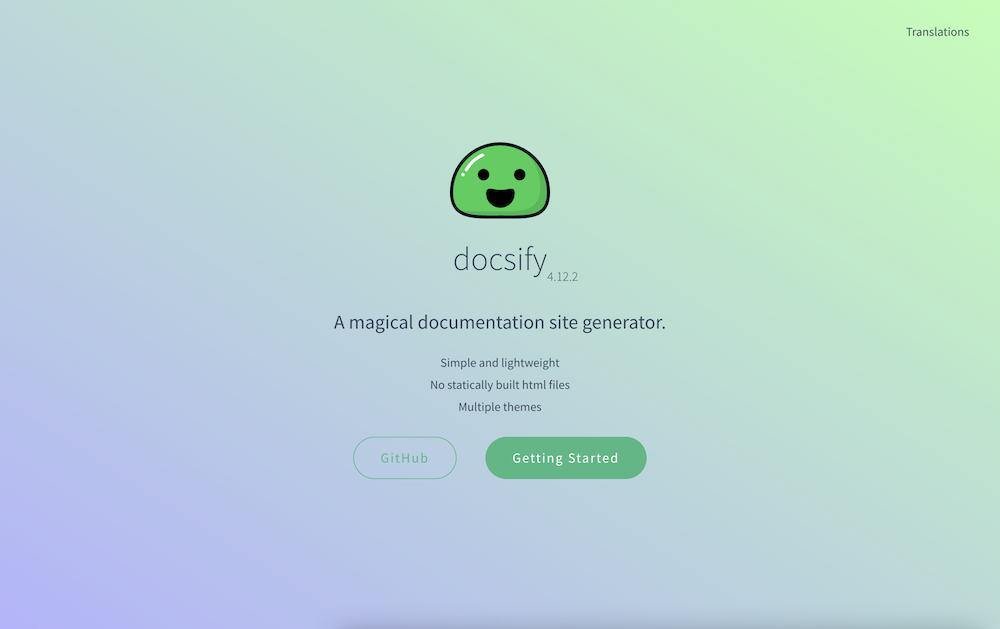
I'm not a fan of these cover pages, so we won't be using one here. All in all, though, I think Docsify is extraordinarily well designed.
It also differs from some other options like Docusaurus and Gitbook in that it's a fully client-side documentation generator. Your Markdown files don't get pre-compiled to HTML ahead of time; instead, Docsify fetches it asynchronously, parses the contents in-browser, and injects the rendered HTML into the page.
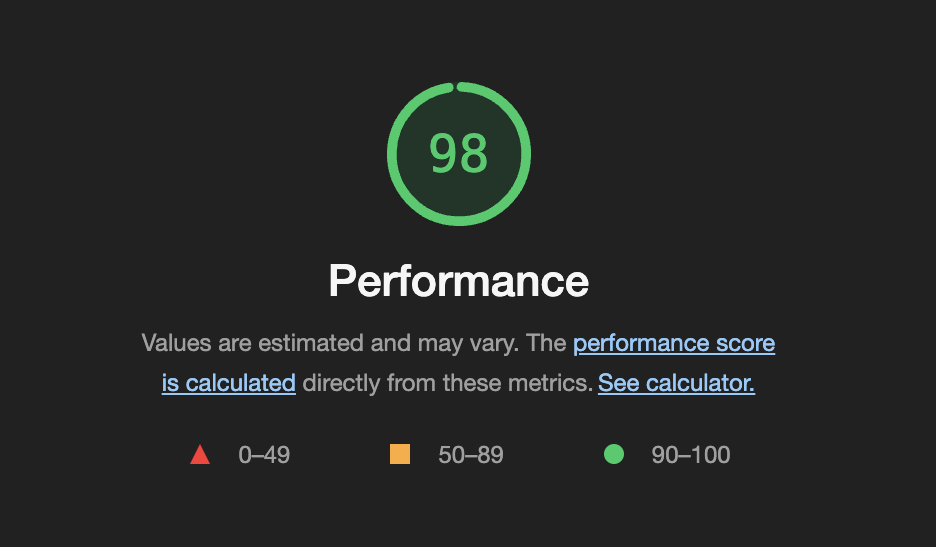
"The horror! Multiple round-trip requests before the first meaningful paint!?" Turns out, it's not a big issue. Modern globe-spanning ultra-fast CDNs for static content, this still feels near-instant. Google agrees; the Zod site gets a 98 Performance score on Lighthouse.
2. Run locally
There's no build step required with Docsify. You could deploy your index.html and a README.md to any static site hosting service and it would work. We're going to be using Netlify to deploy this site, but before we get to that, let's see how the site is looking. We can use Netlify's CLI to start a simple static site server.
$ npx netlify dev
◈ Netlify Dev ◈
   ┌─────────────────────────────────────────────────┐
   │                                                 │
   │   ◈ Server now ready on http://localhost:8888   │
   │                                                 │
   └─────────────────────────────────────────────────┘
Open http://localhost:8888 in your browser, and you should see a rendered version of your README.md!
If
netlify devdetects that you're using a framework, this may not work. In that case you'll need to disable framework detection and tell Netlify to act as a simple static file host.npx netlify dev --framework "#static"If your primary Markdown file isn't called
README.md, you can specify a different name with thehomepagesetting in the Docsify configuration.window.$docsify = { subMaxLevel: 1, maxLevel: 3, auto2top: true, repo: 'user/repo', routerMode: 'history', homepage: 'home.md', // <-- add this };
3. Configure rewrites
Docsify using client-side routing to determine which Markdown file to load and render. In other words, it's a pure single-page application; index.html loads Docsify, which then assumes control over your browsers URL bar, similar to React Router or other client-side routers.
If your project/site contains several Markdown files, you may encounter a strange behavior. Consider the following file structure:
├── index.html
├── README.md
└── CONTRIBUTING.md
If you start the development server and type localhost:8888/CONTRIBUTING into the URL bar, you'll see a 404. That's because there's no HTML file called CONTRIBUTING.html. We need all incoming requests to render index.html! Then Docsify will read the URL and load the appropriate Markdown file.
We can achieve this with a Netlify feature called rewrites. (All static file hosts have an equivalent feature.) Create a file called _redirects with no extension. (With Netlify, both redirects and rewrites are declared in _redirects.)
$ touch _redirectsThen paste in the following:
/* / 200This tells Netlify that all incoming requests (/*) should render the homepage (/). However, unlike a redirect, rewrites do not change the URL. Basically Netlify will sneakily render index.html under the hood, without telling the browser.
Another solution is to use a hash router. In fact, this is the default behavior for Docsify. Unfortunately, it makes the URL messy; the URL would look like
domain.com/#/CONTRIBUTINGinstead of simplydomain.com/CONTRIBUTING. I prefer clean URLs so I chose the rewrites approach.
Now when we run npx netlify dev, we can open localhost:8888/CONTRIBUTING directly without seeing a 404.
4. Deployment
Firebase used to be my go-to for static file hosting, but these days Netlify leads the pack on developer experience. It only takes a couple minutes to set up Github-linked static site hosting.
First, let's push our new files to master.
$ git add .
$ git commit -am "Add docs site"
$ git push origin master
Then configure Netlify.
- Log in or create an account at netlify.com.
- From the dashboard, click
Add new site > Import an existing project. - Authenticate with GitHub (or GitLab or Bitbucket) and select your repository.
When prompted for a "Branch to deploy" select master (the default) unless your primary branch has a different name.
Under "Build settings" you can simply leave everything blank:
"Base directory"— leave blank (defaults to the project root)"Build command"— leave blank (no build step necessary!)"Publish directory"— leave blank (defaults to the project root)
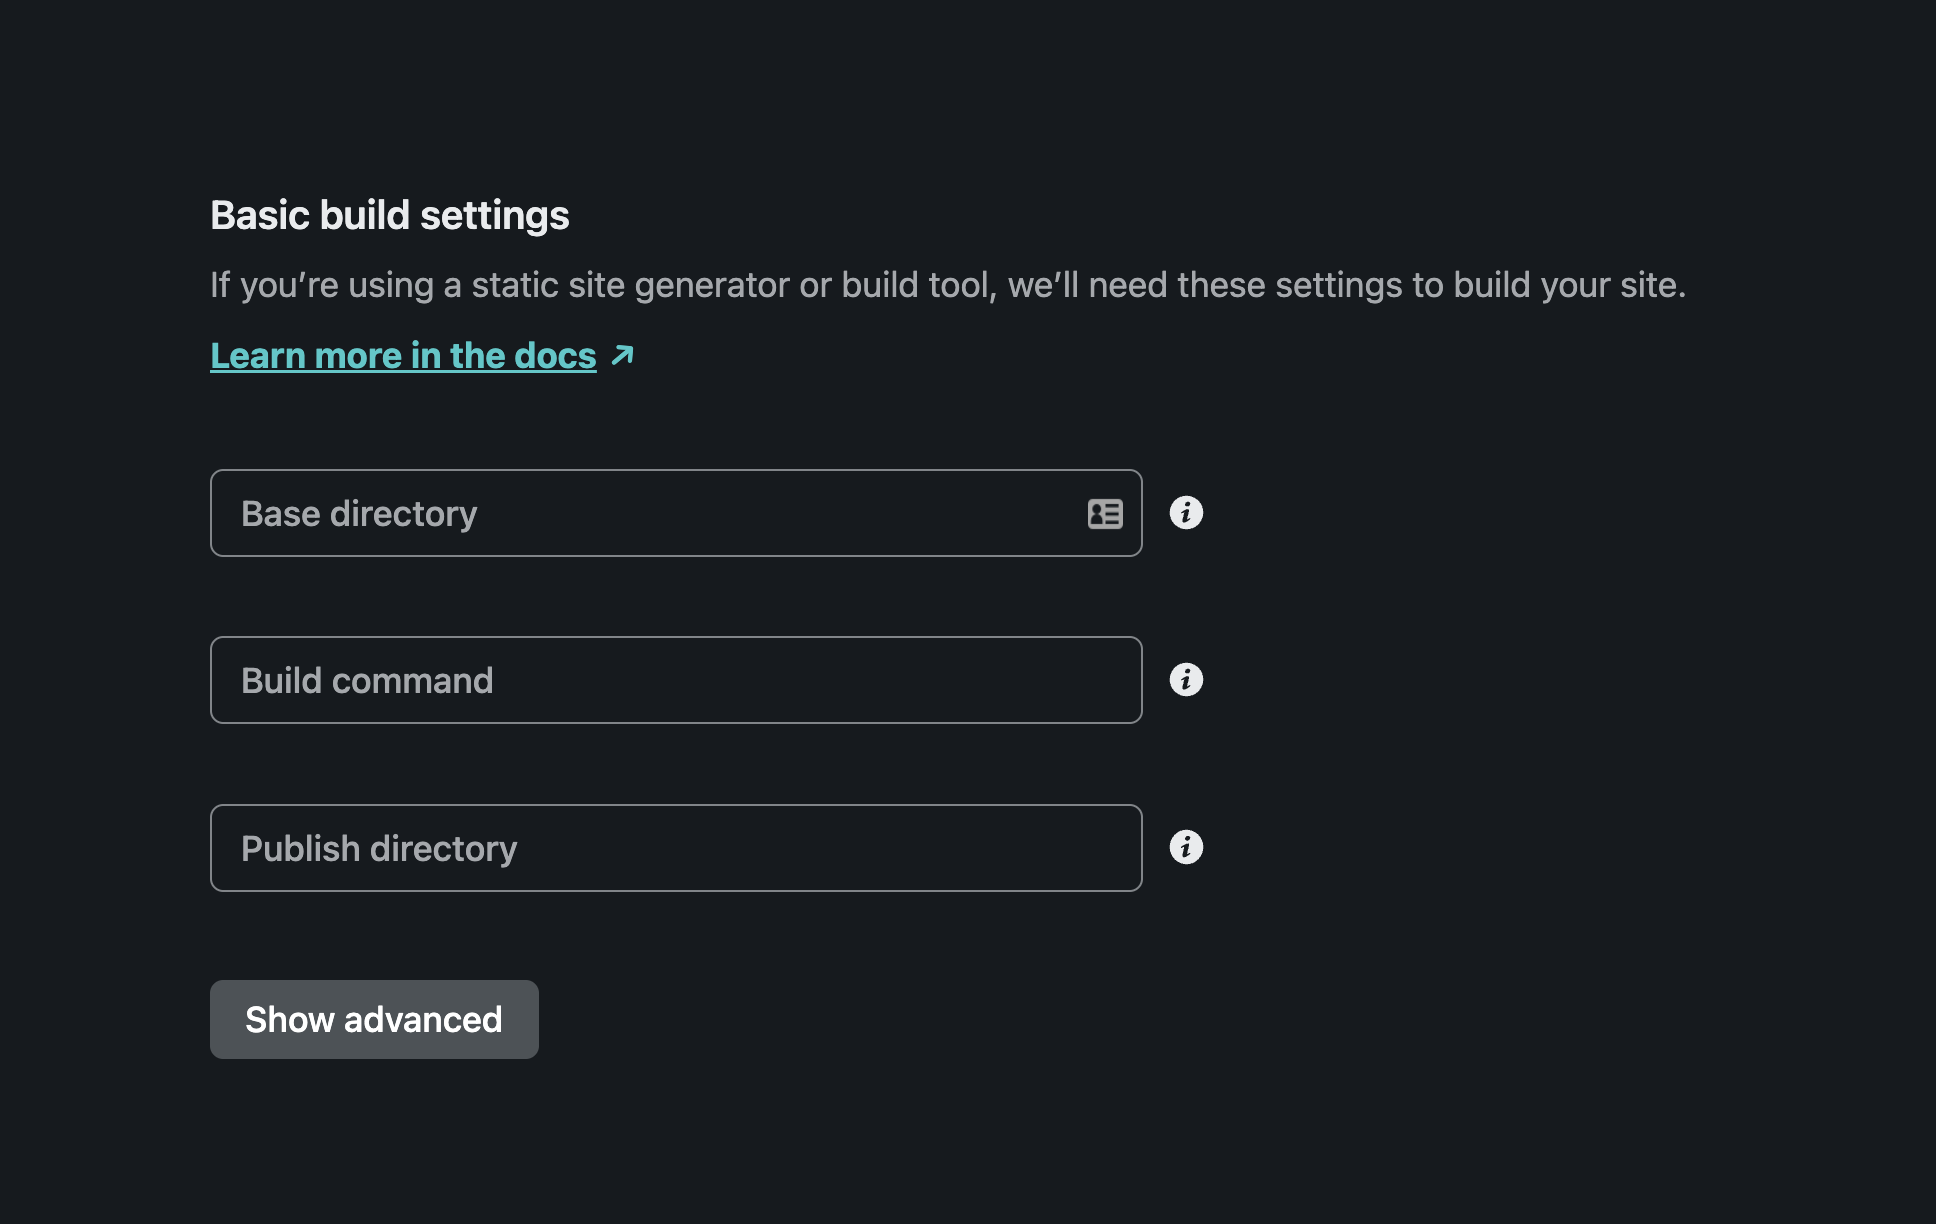
There is virtually no configuration required, because we're simply hosting static files from the root directory of our master branch. Couldn't be easier!
Note that we're deploying the entire contents of our repository to Netlify. You could write a build command to delete all unwanted files but I didn't bother. The contents of my repo are already public on the internet, so...🤷♂️
Proceed with the deployment. Once Netlify finishes deploying, Netlify will provide a *.netlify.app subdomain for your site.
5. Final touches
There's plenty more to do before your site is truly ready.
- Connect a custom domain
- Add a
robots.txtto your root directory - Add links to the top
<nav>inindex.html - Add Open Graph meta tags
- Add Twitter meta tags and a banner image
- Generate a favicon (RealFaviconGenerator is great)
But I'll leave that as an exercise for the reader.